If you’re a maker who uses CNC machining technology, you’ve probably heard about GRBL control. GRBL is a program that enables you to control the motions of your CNC device.
It is a free and open-source program that can be found on GitHub. GRBL is designed to work with CNC machines that use Arduino boards.
To use GRBL with an Arduino device, you will also need an interface that can translate the code from GRBL into inputs that the Arduino device can carry out.
Read on to learn more about GRBL control.
The Necessary Hardware
While GRBL is a powerful and versatile program, you do need to ensure that you have the right hardware. If you do not have hardware that meets the specifications listed below, then GRBL will not work.
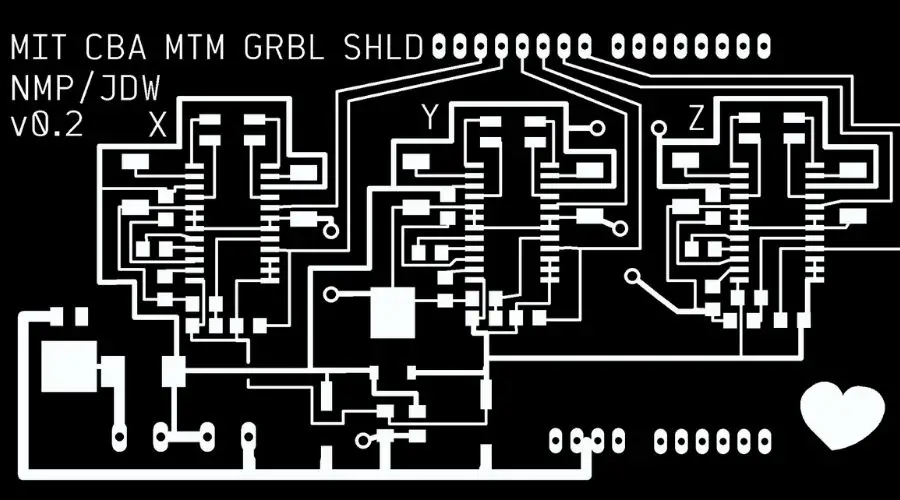
Arduino CNC Shield
 (K75-CNC-UK), Red Blue")
This vital piece of hardware connects the stepper motors that move the CNC machine to the Arduino board. There are other ways to do so, but an Arduino CNC shield provides an all in way solution that is easy to operate. It is designed to work with all of the pins on the board. The Arduino CNC shield also makes it easy to connect the cooling fan, limit switches, and spindle or laser in addition to the stepper motors.
Drivers
The Arduino board cannot control the stepper motors directly. Instead, drivers are needed to take the output from the board and translate into the inputs that actually control the stepper motors. There are a number of different drivers than can be utilized for this purpose.

However, there are two types of drivers that are commonly used for small CNC machines used by makers. These are the DRV8825 and A4988 drivers. These drivers work with the most common stepper motors found in small CNC machines, namely the NEMA 17 and NEMA 14 stepper motors.
Stepper Motors

The stepper motors are what actually move the CNC machine. As mentioned above, the most common stepper motors used for this application are the NEMA 14 and 17 motors. These motors are known to work well with the GRBL software, so I recommend that you use them if you are planning to use this program.
Arduino Board
The Arduino board is the “brain” of your machine, and it is definitely the most important part. If you are planning to use GRBL, you must have an Atmega 328-based board. This means that you can choose between the Arduino UNO and the Arduino Nano.
Installing the GRBL Program
Once you have ensured that you have the right hardware to run GRBL, it is time to install the program. You can find GRBL for free on GitHub. You will also need to download the Arduino IDE software, as this allows you to upload code to your Arduino board.
Uploading GRBL to Your Board
Now that you’ve downloaded both GRBL and Arduino IDE, it is time to upload the GRBL code to your board. Once you’ve installed and opened IDE, extract the GRBL files. Go to IDE and select Sketch> Include Library > Add .Zip Library. Select the GRBL file you’ve just extracted and GRBL will be added to the Arduino Library. This readies it for upload to the board, but keep in mind that it has not been uploaded yet.
The next step is to actually upload the GRBL program to your Arduino board. To do this, you must go to the “File” menu in the IDE program. Select Example > grbl > grblUpload. Now the program is selected for upload to your Arduino board.
Note that only one line of code will pop up. This may seem strange, as the GRBL program obviously contains many lines of code. However, the IDE program processes the code in the background, so it will all be uploaded to your board.
You are finally ready to upload the GRBL program to your board. Select the board’s COM port in the IDE program and hit upload. Now the GRBL program is loaded onto your Arduino board.
Before you can use this program to create something, you must configure it properly.
Configuring GRBL
Once you have uploaded GRBL to your board, you must configure it before you can actually use it in a project. This process can be tedious, but it is absolutely vital if you want to use GRBL to create high-quality designs with your CNC machine.
You should just keep the IDE program open after you upload GRBL to your board, as you will also need to use this program to configure GRBL. You use the “Serial Monitor” function of IDE to configure GRBL.
After selecting Serial Monitor, you should see a message reading “Grbl 1.1h [‘$’ for help].” This message may not come up unless your baudrate is set to 115200.
Type two dollar signs. This will bring up a long list of settings that you must tweak according to the performance of your machines. The settings should be in this format: $100=250.000 (x, step/mm).
Theoretically, you can start tweaking these settings now. However, the most efficient way to do this is through trial and error. To put it simply, you should see how much a command from GRBL actually moves your CNC machine and adjust it accordingly. To translate this command into a format your board can recognize, however, you will need a GRBL control program.
Using a GRBL Control Program
You must use a GRBL control program in concert with GRBL to actually translate code from GRBL into signals the Arduino board can read. Thankfully, there are quite a few excellent programs available for this purpose. Some of these programs are sold by software companies.
However, there are also many free and open source programs available. As these programs are just as good (and in some cases, even better) than programs that you have to pay for, there is no point in buying a GRBL control program.
In my opinion, the best free, open-source GRBL control program available is Universal Gcode Sender (UGS). Like GRBL, this program is available for download on GitHub.
Setting Up Universal Gcode Sender
The Universal Gcode Sender program is written in Java. This means that you will need to have the Java Runtime Environment (JRE) installed to run it. JRE is available for free from the Oracle website.
Once you’ve downloaded both JRE and UGS, open up the UGS zip file. Select “bin” and open “ugsplatform.” The “Setup Wizard” function of UGS should start running. This is how you will configure your CNC machine. It is technically possible to configure your machine through IDE, but the UGS Setup Wizard is much easier to use.
First, you must select the baudrate. As previously mentioned, this should be 115200. Next, select the port that the Arduino board is connected to. UGS should display this clearly.
Now you have to move your CNC machine and adjust the machine’s settings based on how much your machine actually moves. You will need to measure how much a certain setting actually causes your machine to move, and adjust the settings until your machine moves in even steps.
UGS makes this easy by recommending how you should adjust the settings. However, you will still need to input how much your machine actually moves in order to get this recommendation.
The default setting is 250 steps per millimeter. This means that when you click the “move x+” setting, the machine should move one millimeter. However, it is extremely unlikely that the machine is calibrated properly out of the box.There are many variables that affect how much your machine will actually move, including the transmission type, the step-ping resolution, and the number of steps the motor has.
Prepare to measure exactly how much your machine will move using a ruler. It is very important that you get an exact measurement. If you do not, you will not be able to calibrate your machine accurately. This will prevent you from creating designs accurately.
Calibrating Your CNC Machine
Click the “move x+” option in UGS. Measure exactly how much your machine actually moved. Put this measurement into the “Actual movement” field in UGS. The wizard will automatically recommend a setting that will cause your machine to move predictably.
For example, if your machine actually moves 2 millimeters, the UGS wizard may recommend that you update the steps per millimeter setting to 100. Now it will move exactly one millimeter every time you click the “move x+” option.
You can follow this same process to calibrate the y-axis of your machine.
Getting to Work
Now that you have set up GRBL, the GRBL control program, and calibrated your machine, you can get to work on your projects.
Keep in mind that it is common for DIY CNC machines to require regular adjustments.
You can adjust your CNC machine by following the process described in the “Calibrating your CNC machine” section of this article.
Even if you do not feel that you need to adjust your CNC machine, you should occasionally check the calibration with a ruler to ensure that it is working properly.
Top photo credit: Nadya Peek @ Flickr