As you may know, a laser cutter is a manufacturing tool used in industrial production and for crafters and hobbyists. It is a complete prototyping tool that artists, designers, and engineers need to cut and etch into flat material.
They do that by sending designs into a laser cutter, which slices the materials using a beam and support from the cutting bed beneath.
Laser cutters are important in production because they are exact, and to remain exact they need to be maintained and cleaned regularly.
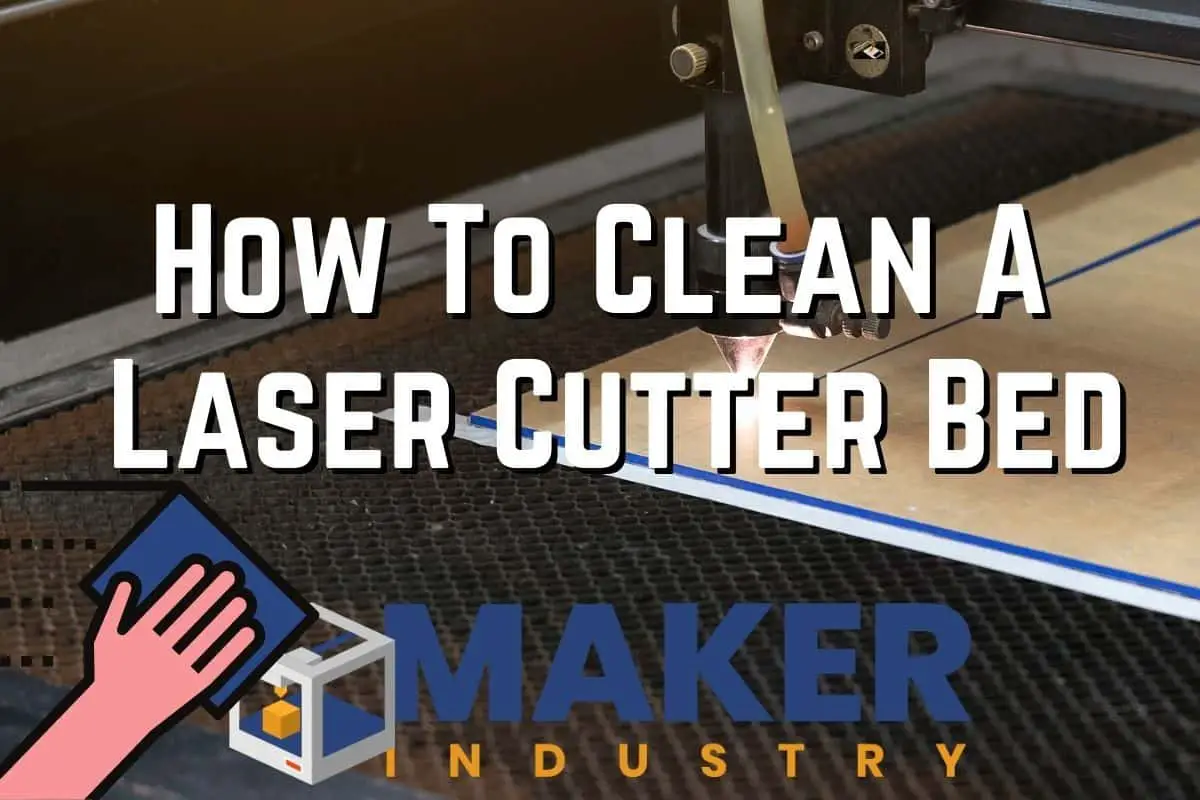
Guide – How to Clean a Laser Cutter Bed
Here are a few of the most effective ways to clean a laser cutter bed. Follow these steps for the best results.
Step 1 – Cleaning Supplies
The first thing you have to do when deep cleaning your laser bed is to collect everything you need for the process.
Ensure you have the right cleaning products close to making the cleaning process faster and more effective.
The following are the most important items you need for cleaning your laser cutter bed.
Items you may need:
- Soft brushes
- Paper Towels or Cloth
- Pipe cleaners
- Stiff bristle brushes
- Paint scrapper
- Degreaser
Recommended Cleaning Product
We found Krud Kutter to be the most effective for cleaning out laser cutter gunk and build up.

Step 2- Remove Laser Bed Tray
Once you have everything that you need, the next thing you should do is disable the machine for easy access to different parts.
Begin by pushing the easy-to-remove bed by pressing the push pins. Once it opens, take the tray out and sweep out the particles.
Some honeycomb bed trays like the one used in the Glowforge can be disassembled using a screwdriver for easier cleaning access.
To clean the honeycomb laser bed, use the pipe cleaners and bend them in half to help you reach and clean the hard-to-reach places.
They will help you remove the grime from these places, like the grates and the laser cutter’s rear side.
Step 3 – Apply a cleaning solvent
Use some soap or your preferred cleaning agent to remove the stubborn grime and dirt from the laser bed.
The bristle brush will help you to clean the grates at the back. While scrubbing will remove very stubborn grime from the laser, it is also important to be careful not to scrub too much.
Hard, persistent scrubbing may damage the laser. You can clean all the parts using the napkins unless you notice they are breaking.
If the napkins begin breaking, the best thing is to use the paint scraper to remove the dirt.
For stubborn dirt, you can soak the bed for about two minutes with a ZEP purple cleaning solution.
Step 4 – Rinse and let dry
Once you have soaked it, clean it up using the napkins to ensure every piece of dirt is removed. Then rinse it thoroughly with clean water from a hosepipe, holding the laser bed vertically for easy cleaning.
Then use the paper towels to clean the small holes and let them dry before returning them to the machine.
An easy process for your honeycomb bed cleaning is removing it and spraying it with a cleaner.
You can then give it like 10 minutes before rinsing it off. If you clean your honeycomb bed often, you will not need a lengthy process because it will not have stubborn dirt on it.
Recommended laser bed cleaning products
You can use several detergents to clean your laser cutting bed, like soap or industrial ZEP purple solution.
If you clean your laser cutter bed often, you will not need strong detergents or scrubbing material.
The importance of a clean laser cutter bed
Industrial production is done by repeating the cutting process, and the machine can work for eight hours or more non-stop.
At the same time, the process of cutting the materials to produce the precise chips that you need involves burning.
The smoke and the soot resulting from the cutting and etching process accumulate on the laser bed.
Failing to clean the laser bed can affect the effectiveness of the machine.
The heat from the production process can mix the product with the soot and give you unclear engraving.
You may end up repeating the process.
But cleaning the laser bed ensures a more precise production and eliminates the need to repeat the work.
Laser Cutter Maintenance Tips
Laser cutters are a big investment, and it is important to maintain them well. Here are a few tips on laser cutter maintenance to prolong its life span.
1. Ensure the machine is always attended to when in use to prevent unnecessary burns or accidents.
2. After prolonged use of the machine, it is important to inspect it at the end of the day, especially the lens, and, if possible, clean it up. Using a lint-free cloth, gently clean the laser lens.
3. Inspect the filters and confirm that they are in good working condition at least after every one week of using the machine. It is also advisable to change the filters after every six to twelve months.
4. Clean air vents and ducts to prevent buildup and to keep your air extraction unit working properly.
Finishing things up
To truly enjoy your laser engraving machine it is essential to keep it in the very best shape to ensure proper functions and efficiency.
Machines like the Glowforge are not cheap and there are some lasers that have limited warranties, so it is best to do routine maintenance and cleaning as needed.