How to paint fill a laser engraving is one of the most tedious processes there is, but we’ve developed a step-by-step guide to help simplify the process.
Several materials that are laser engraved can be more pronounced with paint filling. The objects generally used for laser engraving are synthetic stone, wood, glass, acrylic, and marble.
How to paint fill laser engravings with various materials:
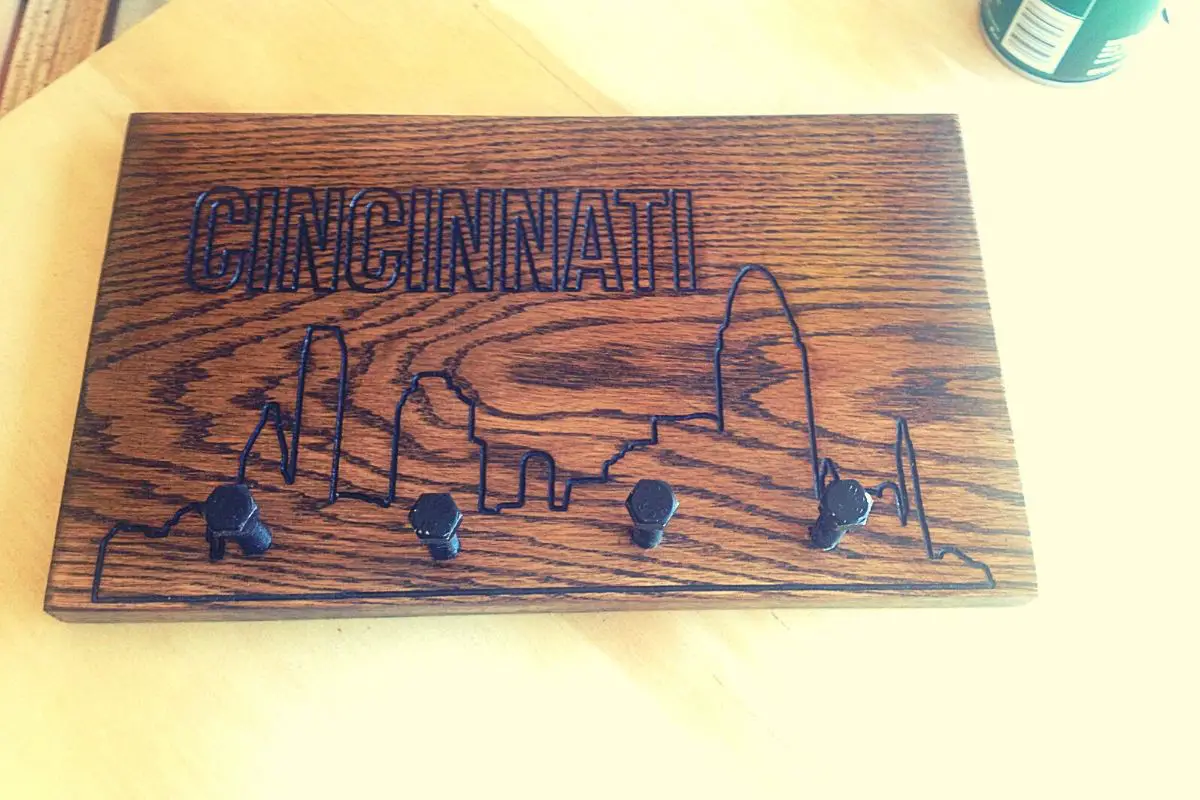
Wood
- Start by covering the finished laser engraving. The transfer tape has to be squeezed upside down. Ensure there are no trapped bubbles of air, if any, remove them right away.
- Align after placing the wood prepared in the laser.
- A black and white graphic has to be used for engraving in the wood placed below and into the tape. Make sure a 3D-mode or a grayscale graphic is not used.
- Make use of settings to standard wood available in the Materials database.
- Once you are finished with the engraving, polyurethane or a lacquer’s clear coat is applied to the wood engraving.
- Let it dry out totally.
- The entire procedure will seal the wood grains within thereby avoiding soaking of the paint into the grains. If this is not done, it will result in an undesirable appearance.
- Ensure the clear coat to match and the finish that is present over the wood.
- Polyurethane and lacquer should not be mixed. This can result in a reaction. If this mix is applied to the wood, the wood will look white.
- Once the clear coat dries off totally, the process has to be repeated with the paint. This is to provide multiple paint coats and for good results. However, ensure the paint to dry out completely between every coat applied.
- The paint has to be dry before the mask is removed. Remove it very carefully.
- Ensure to double-check the centers of the engraved letters. Also, check for any engraving details for transfer tape.
- You are finished with paint fill laser engraving work.
Synthetic Stone or Corian
For paint-filled synthetic stone, the steps are the same as for the wood material. However, after applying a clear coat and once the paint is dry, the mask has to be removed. After this step, clean the stone surface by making use of wet sandpaper.
Acrylic
- One side of the acrylic sheet should be painted while the other side has to be masked. Let it dry.
- Place the painted side up into the laser. Intended text or graphic has to be a mirror image.
- After the settings have been set to standard engraving, it is engraved into the acrylic through the paint.
- Mask off the engraving regions when different colors are required in those areas.
- Spray paint that color into the exposed region. Eliminate the mask later and apply the desired paint. Let it dry.
- Remove the mask from the other side as well. The finished product is ready.
Glass
2 primary methods to paint fill a glass laser engraving is by rubbing the paint or spray painting.
- Spray paint-fill laser engraving-The steps are the same as for wood paint fill but on glass. You will not require a clear coat application as for wood.
- Rubbing oil paint fill– Make use of the halftone technique to engrave the glass. Use Rub ‘n Buff or oil-based paint in small amounts to the engraving. Later rub it across the area of the surface that you desire to paint. With the help of a paper towel or a cloth, the excess amount can be removed or polished away from the areas with no engraving. Once you are done, the paint-fill laser engraving is finished. You can do the same on both sides of the glass. However, the laser engraving should be done in its mirror image.
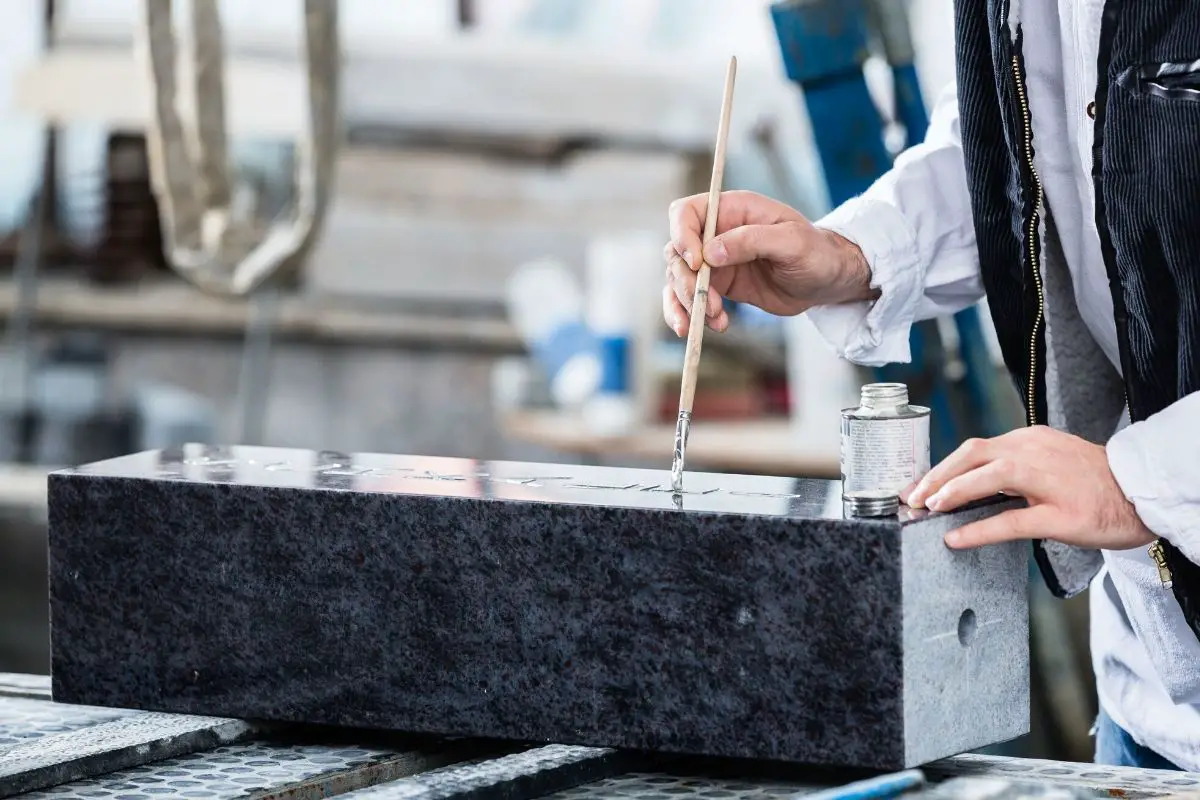
Marble
To paint fill a laser engraving on marble, the oil paint rub-in method works well.
The steps are the same as used for glass. For black marble, use white paint as the contrast color.
By placing rub-in oil paint strategically into the engraving, you can achieve a colored photo illusion. Carefully the paint colors have to be matched to the original photo and the areas engraved.
This will give an appropriate shading and realistic feel to the photo.
Bottom line
In conclusion, how to paint fill a laser engraving is a result of these simple steps:cleaning the surface, applying a mask, using your laser engraver, spray painting the desired color, drying, mask removal, and weeding the extras.
Overall this will enhance the appeal and pop of the laser engraving on the material.