After engraving leather with a laser, it is important for you to seal your work.
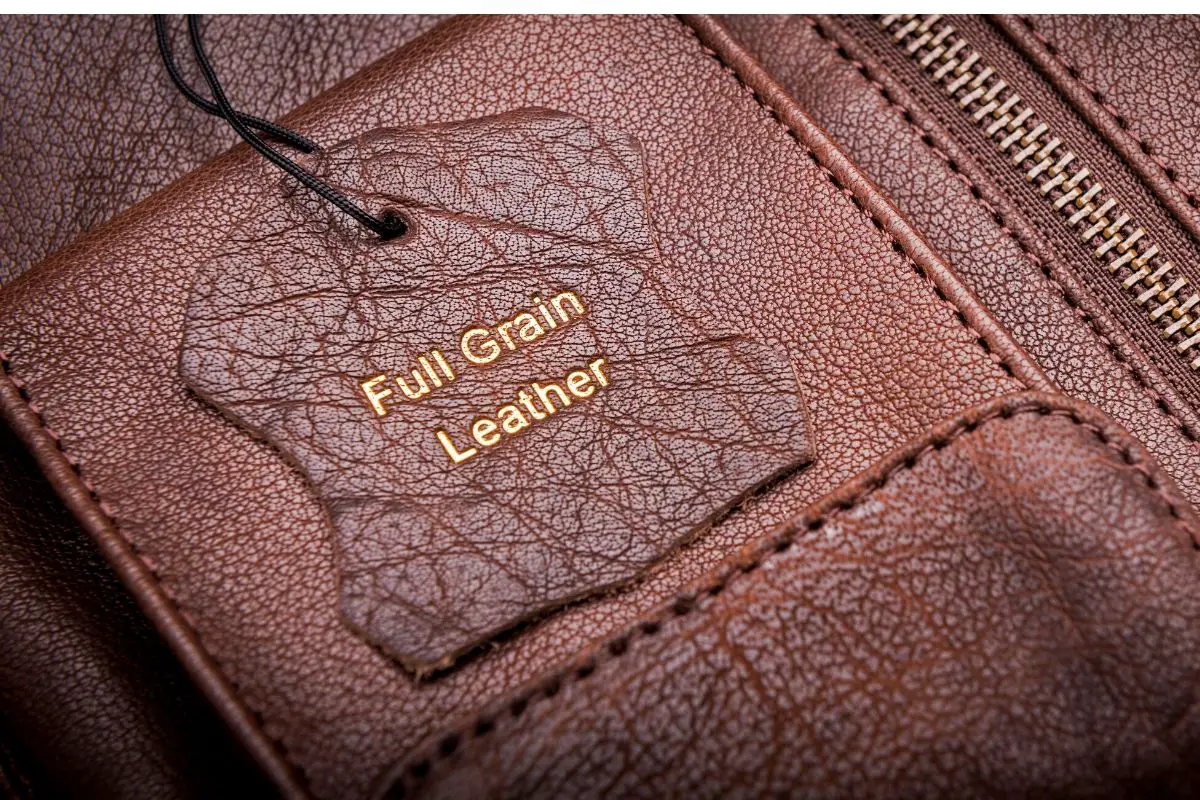
Genuine leather comes in countless types and since it is a natural material, it will react differently when it goes through the process of getting engraved with a laser.
It is thus difficult to establish ground rules for processing leather with a laser.
How to get rid of burnt smell after laser engraving.
Laser-cut leather leaves a bit of sooty leather residue and a burnt smell after you do your engraving.
First, clean up and seal the leather after you engrave it by gently scrubbing it with a non-abrasive hand cleaner like Fast Orange.
Then liberally apply the hand cleaner to the engraved portion of the leather.
Use a toothbrush to scrub this in small circles. Use a paper towel to wipe off the excess and repeat the procedure on any other engraved area.
Allow the leather to air dry for the seal to be permanent.
Sealing Laser Engraved Leather
When you engrave genuine leather with a laser engraver, some types of leather may get deformed.
When this happens, reduce the power of your laser engraver.
If you are using a cheap laser engraver, then this will most likely not be a problem.
Clean the workpiece once you see it has gotten deformed. Aggressive agents for cleaning could dry out the leather and form white spots.
Be sure to test all cleaners on inconspicuous areas or a test strip to avoid any unexpected occurrences down the road.
Clean engraved leather before sealing it. It can be a challenge to engrave leather perfectly, especially for newbies.
To preserve perfectly engraved leather, you will need to seal your work after the engraving is done. You can seal engraved leather using neatsfoot oil, saddle soap, or beeswax.
Regardless of what you use to seal your laser engraved leather, air-drying is the next step.
Next, touch the leather you have just sealed to make sure it is completely dry and not tacky.
Using the same method, apply a second coat. Use a protective leather sealer to the side with the smooth grain. Use the sealer to cover all the edges. Leave the leather’s suede side free of the sealer.
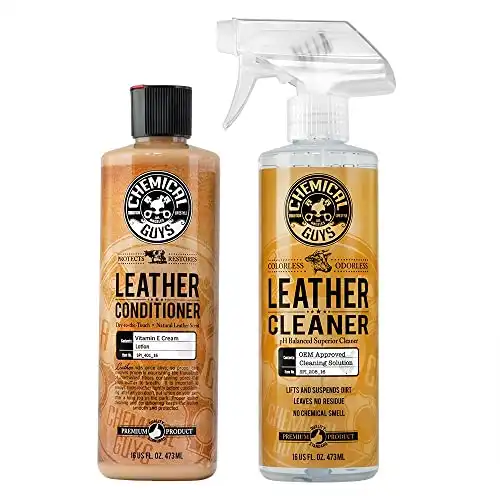
A great option for cleaning and sealing your laser engraved leather.
More helpful leather tips
Use Beeswax
You can also use beeswax to seal newly laser-engraved leather.
One of the oldest leather conditioning treatments used today, beeswax helps in sealing, lubricating laces, finishing leather edges, and even waterproofing.
Make sure your leather is 100% dry before you apply beeswax.
Don’t use beeswax on non-colored or unfinished leather since it will cause the leather to resist stains and dyes in the event you plan to color your leather items at a later date.
Before applying beeswax, make sure all your dyeing and coloring, as well as laser engraving, is done.
In a circular motion of rubbing, apply beeswax to leather and work it until the leather absorbs it.
Buff the excess beeswax lightly using a soft, clean cloth.
This allows a thin beeswax coating to remain on the newly-engraved surface for conditioning and preserving the texture and grain of your leather.
Avoid caking the folds and creases on the leather with your beeswax. This will dull the natural sheen of your work.
Summary
It is always important to protect any product you have made with a laser.
Now that you know how to seal leather after laser engraving, you are well on your way to potentially starting your own laser engraving business.