3D printers are one of the most useful inventions of all time. You can easily convert your ideas into reality in no time.
But just visioning and modelling the 3D objects is not enough. You have to follow a complete “After” process to finish it!
In this article, we’ll discuss the practical ways of cleaning the 3D printed parts along with tools you need to perform this task. We will also tell you about the other finishing and smoothening of the 3D printed parts. So, keep reading!!
How to clean up 3D Printed Parts
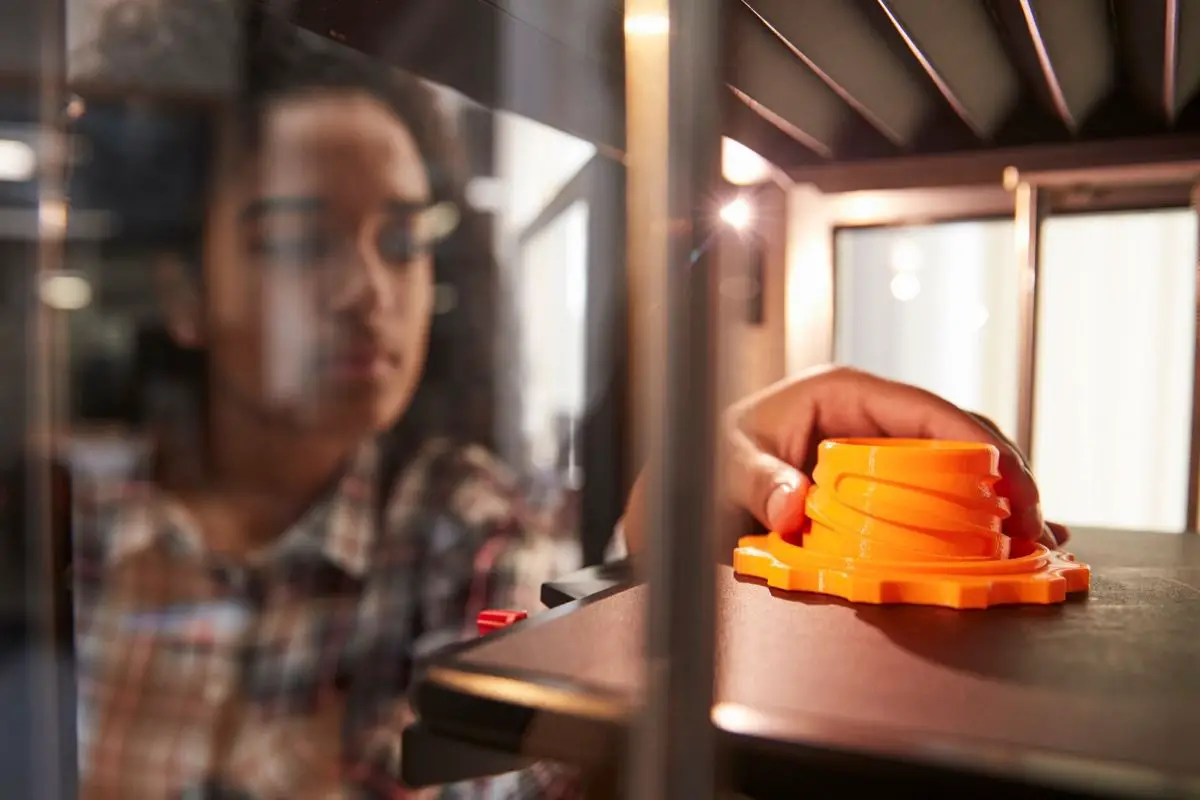
Part Removal
The very basic clean up technique is the removal of undesirable parts from the printed model. For this purpose, all you need is a putty knife. Always choose a knife with a thin metal blade so that it can work easily between the printer bed and the plastic. This will also allow you to pick the printed parts off the printer without damaging it.
Rough Cleaning
After picking the model from the print bed, you will need to get rid of any extra material from the print. You can do this in many ways depending upon the type of material. Here are some commonly used ways :
1] Soluble Support Materials
If your printer creates parts using soluble material, you can soak the part into hot water mixed with some detergent (recommended by the manufacturer) for a couple of hours according to the size of your object.
You can also try using a sodium hydroxide bath for dissolving the support material.
Apart from manual soaking or agitating baths, ultrasonic tanks are of great use for removing the soluble support material that is clinging to the prints. It is especially useful for the large prints with the complex surface area. Another advantage is, they do the job more quickly.
Moreover, consult your 3D printer manufacturer to know about the specific procedures and tools to remove the soluble printed parts.
2] Single-Extruder Systems
In case of a single extruder 3D printer in which the support material is the same as the main material, you have to remove the undesirable parts manually using knives and needle-nose pliers. You can even use a pair of flush-cutters for doing this process.
Moreover, a small pair of dental tools and files also comes handy for cleaning the hard to reach and complex parts.
Be patient. The cleaning will take some time but is really easy. You can easily remove the support material depending upon the type of material and the process you’re applying.
3] Addressing the Crude Imperfections
After applying the above-mentioned operations using pliers and other cutting tools, you may still find some minor imperfections such as rough surfaces, edges etc. In such cases, you can apply the sanding techniques to smoothen the surface.
Always begin by using a rough grit, say 150 to sanding the major flaws and go on up to 600 grit. Moreover, wet sanding the parts using either 600 or 800 grit paper will result in a very smooth and mirror-like finish.
Make sure you don’t sand off the main areas of the part otherwise your efforts will go wasted. Be slightly more careful with the electric tools as they can melt away the desirable parts at very high RPMs.
4] Work on The Details
After Tackling the major imperfections using the above-mentioned methods, it’s the time to work out the smaller details like removing layer lines or discoloration. Depending upon the type of material, here are the following methods you can apply :
Heat Gun
Heat guns are very handy tools for melting away the parts while cleaning. You can apply this method after sanding operation in order to clean the discolored patches.
However, a heat gun should be used very carefully otherwise you will end up melting away the main print. To avoid any damage, work the heat gun a few inches away from the object in a sweeping motion.
Polishing
You can also polish the material to smooth out the surfaces. Use polishing bits for buffing up the surfaces.
Acetone
Acetone is very useful in creating a fine and glossy finish, especially for the ABS parts. You can put the part into a jar of acetone vapor, it will dissolve the exposed surface and thus, will remove the layer lines completely.
But again, do this very carefully because it will start dissolving the main part after some time. So, the good idea is to practice on spare models first in order to understand its working. Furthermore, carry out this operation in a well-ventilated area so that the vapors don’t harm yourself.
List of 3D Part Cleaning Tools You Will Need:
Here are all the tools you will need in the cleaning operation of the 3D printer parts :
- Thin and flexible metal putty knife
- Other knives of different shapes and sizes
- Scratch awl
- A pair of needle-nose pliers
- Sandpapers with 150 – 800 grit
- Filers
- Micro filers
- Dental tools
- Acetone
- Heat gun
- Wax carving tools
- Polishing bits
Now that we have discussed the basic cleaning process of the 3D printed parts, let’s discuss the specific operation in depth.
How to Make 3D Printed Models Smooth?
Generally, the ABS materials are easy to smooth as compared to PLA. You can use acetone or agitating baths to dissolve the soluble parts and get the mirror-like finish.
However, the PLA and other similar material can not be finished using these methods. Therefore, you need to learn the right methods for smoothing the PLA prints.
You can definitely smooth out the ABS parts using the above-mentioned methods. Here is what you can do with the PLA objects :
- Start sanding the model using a 200 grit paper until all the layer lines are eliminated. Always sand in a circular motion to avoid scratches.
- Now, keep on increasing the grit number of sandpaper. Once you’re done with 200, move to 400 and then 600 and so on. Do it until you get desired results.
- Keep going until the 2000 grit number to make the printed part really shiny and smooth. Moreover, if you want more, keep on incrementing till 3000 – it will give the mirror finish.
- Finally, paint the article to cover up all the flaws and discoloration and to give it final touches. Be very selective when it comes to the paint. We recommend using a good quality metal polish because it makes the printed model look excellent and flawless.
- For painting the print, use a cotton cloth and paint it using it. Just apply some metal polish on it and keep rubbing on the surface until the entire print is covered.
- Once you’re done with the paint, you will have a finished and shiny 3D print model. Finally, buff up the surface using a soft and clean cloth to make it shiny. That’s it!
Related Questions :
How To Sand Down The 3D printed Parts Perfectly?
Learning how to sand 3D prints is very important to achieve the perfect finish.
As we already mentioned, the best technique to sand the 3D printed parts is to use a number of grits ranging from 200 to 4000 for a really smooth and glossy finish. Keep sanding the object starting from the minimum grit and keep incrementing the grit number.
Electric tools may look very handy and non-resisting but avoid using them until and unless you have a good experience with them. The reason is, the high vibrations can easily melt away the plastic object and will deform it. In fact, you should be very careful even with the manual sanding.
How To Get Rid Of Layer Lines 3D Printing?
Following the steps above is how you will get rid of the harsh layer lines on your 3D print. Sanding and priming are one of the best ways to do this. By using multiple grit sandpapers, you can easily create a smooth surface without any harsh layer lines. Another thing you can do is to use the acetone vapors. Dip the object in a container filled by acetone vapor for some time and then remove it. All the harsh lines will be melted and you will get a glossy finish.
5 Tips And Tricks For Finishing 3D Prints
- Always sand in smaller and circular movements on the surface of the printed object. It will smooth out the part evenly. Moreover, if you sand in one direction, there will be trenches in the print. So avoid that.
- ABS is delicate when it comes to sanding. So, don’t overdo it. Just remove 0.010″ to get rid of layer lines. Oversanding will result in damaging the dimensions of the part.
- Prefer wet sanding over dry sanding because the water helps to get rid of the residue quickly. This method results in a smooth and shiny surface.
- Use a primer before painting the object. It will fill all the pores that are left after sanding and will let the paint sit beautifully on the object.
- Be very careful while using the heat gun and acetone-smoothing technique. If you overdo these operations, you will end up messing with the dimensions of the print. So, practice on the spare models first and then apply on your main model.
Finishing Up
Now that you know how to clean up your 3D printed parts by sanding, you now have the options of painting. This will be a topic we will be covering soon, so be sure to be on the lookout.
For more useful 3D printing tips check out these articles on how to manually level your bed or how to clean a clogged 3D printer nozzle.