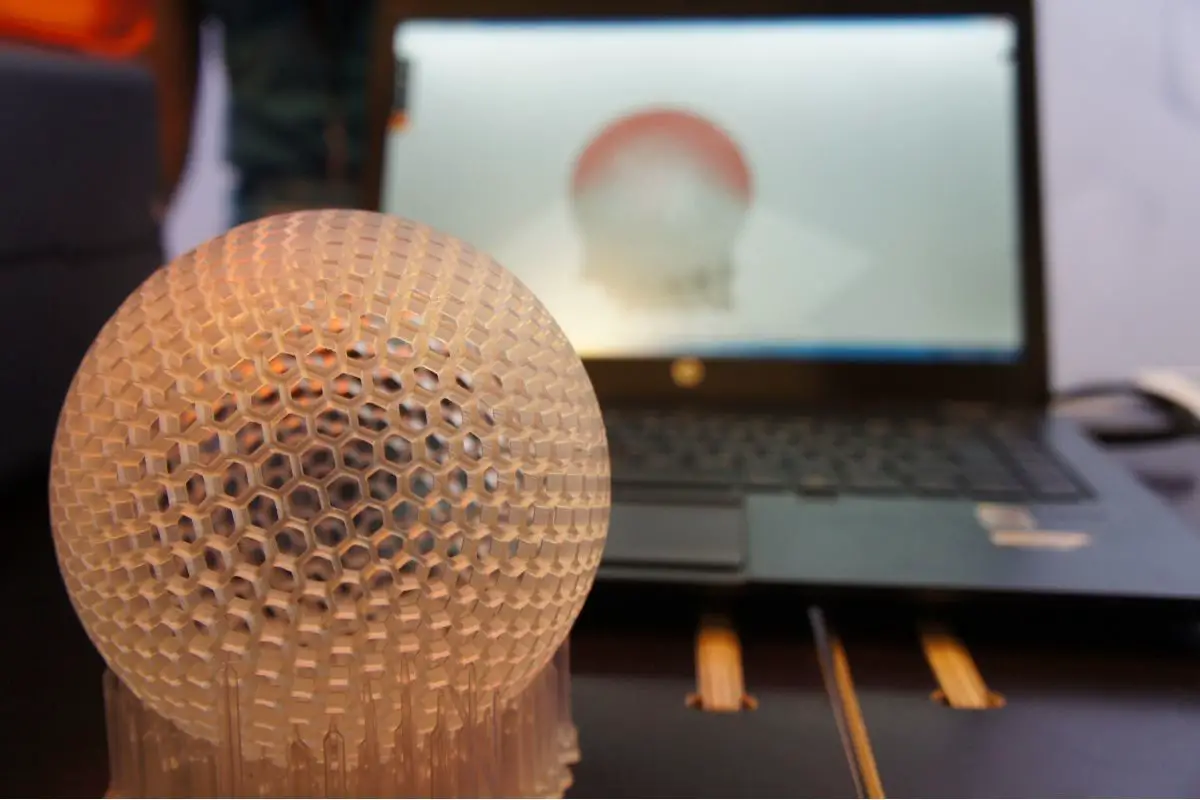
3D Printers have come a long way, but it takes a lot of hard work to get your prints to look like the beautiful design you created in your software. Some 3D printed parts require support to hold the object in place as it is being printed. Unfortunately it is not possible to print something in air and physics’ laws dictate that some form of support is required to hold the suspended parts in place.
Now this can add an extra step into the process. Once you have completed the printing process, you will still need to remove the supports that keeps the hanging object from sagging or falling. Now it’s important to be tedious in the next few steps as to not damage the 3D printed object you just completed.
How to add supports to a 3D Print
Before moving on to the removal of supports, let’s determine why we need them and how to properly add supports to your 3D printed object.
Generally, if your printed model has a bridge or an overhang that has no support, you may require 3D printing support to hold the overhanging that may be of three different shapes- Y, T, and H.
It is true that not all bridges or overhangs require support. The general rule is that if the overhang is tilted at 45 degrees angle or less from the perpendicular, then you can print without having any 3D printing support. There are 2 overhangs in Y and they are at 45 degrees or less from the vertical. Hence, if you are planning to print Y, you will not require any 3D printing support.
In the case of the letter T, the overhang is at 90 degrees angle from the perpendicular and hence you will not require any support structures to print the letter T. The same goes for printing the letter H.
When it comes to bridges, just like overhangs, not all of them require support. And here, the general rule is that if your bridge is 5mm in length or less, then you can print without any support structures. This requires a technique known as bridging where the hot material is stretched and this technique helps in reducing sagging. But this technique will not work if your bridge is more than 5mm, in that case, you will require adding 3D printing support structure.
The general thumb rule is that the overhang can sustain at an angle less than 45 degrees from the vertical and it does not require support. The mileage can vary and printers that are in poor condition may not be able to print overhangs at 35 to 40 degrees angles from the perpendicular.
How to Remove Supports from 3D Prints
In many cases, you can break the support structure with your hand. You can use a putty knife or needle-nose pliers to remove the remaining portions of the support. This process will require only the work of your steady hands and time.
One of the best ways of removing a 3D printing support material is by using a dual extruder-equipped printer since it can load the standard ABS or PLA materials and has a lower-density support structure. The support material usually dissolves in chemical water.
If the support can not be broken with your fingers, keep in mind the following tips for the removal of 3D printing support structures –
- If you are using a scraper or a knife, you can heat the blade or the model to make it soft and you can easily slice it with your knife. A small butane torch can be used to ease the process but it must be handled carefully so that the model is not damaged.
- You can also use sandpaper. High grit sandpaper of 220 to 1200 can be used to remove the support and also to polish the model. Make sure that the sandpaper is wet.
- If the material is PLA, then be careful with the stress marks. In case of any stress marks, remove it with a nail-polish varnish.
- If you are going to use your 3D printer in your dental clinic, then get Dremel which is a tiny drilling tool. These grinders have several attachments and bits that make the process of removing the support structure very easy. If your hands are not steady, you need to be extremely cautious while grinding.
How to remove raft from 3D Print
The easiest way to learn how to remove the raft from the 3D print is by just peeling it off. Hold the print in one hand and use needle-nose pliers on the other hand. Gently grip the raft by its edge and separate the raft carefully from the print.
Suggested Article: How to clean up 3D printed parts | 5 Tips and Tricks
How to remove 3D print from Base
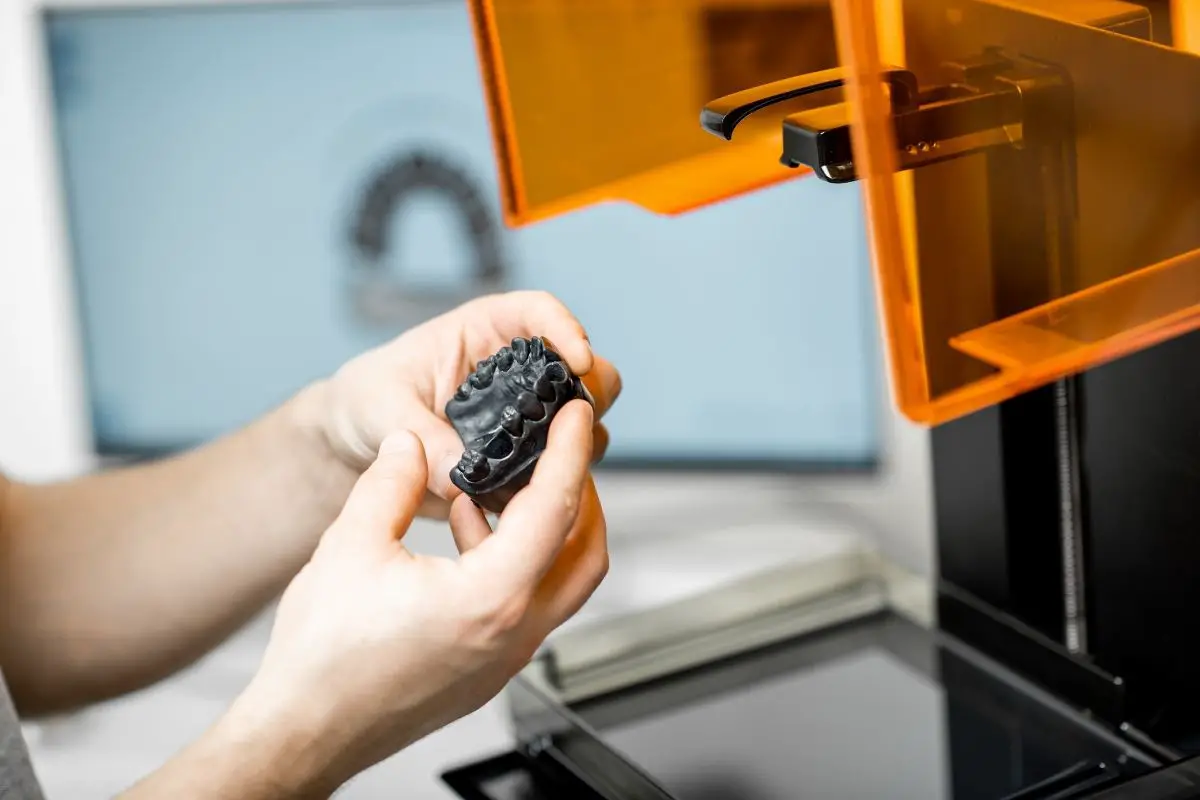
To remove the 3D print from the base, the first step requires you to turn off the heat on the heated platform. You have to let it cool down and wait till it reaches the normal room temperature. Do not try to touch it when it is still hot. Once it has cooled down, it will be easier for you to remove the print from its base.
Whether you are printing to a glass bed or print bed, you will have to let the temperatures come down to the room temperature and you can scrape it off without exerting much effort or energy on it. You will also need to continuously replace the Kapton tape.
Sometimes, it may take a longer time for your 3D print to cool down if it’s a huge batch. But patience is the key! Wait till the temperatures have dropped to at least 50 degrees Centigrade. Use the sharp end of a screwdriver to scrape off the print from the base but do it very carefully till it comes free.
How to remove 3D print from Glass bed
Once you have completed printing, you will need to separate the finished print from the glass bed. The 2 objectives involved in this process are removal of the print without damaging it and without damaging the glass bed.
- Let it cool down – This step is extremely important no matter what, how, or on what you print. First, let your 3D print cool down to the normal room temperature. This helps in solidifying the print and makes it durable. There might be a bit of a contraction in the printing material. However, the contraction is negligible and does not make any significant difference in the visual appearance of the print. This contraction helps in easy lifting off of the print from the glass bed.
- Use the force – If the print does not come off on its own, you may need to exert some force to take it off from the glass bed. The force depends on how sturdy or how big your print is.
- Tap it with a screwdriver – Take the flat end of a screwdriver and put it near the base of the 3D print. Give sharp taps on its handle and print is likely to come off.
- Scrape off – Use a flat, thin object and inject it inside any clearance you find between the glass bed and the print base. Most professionals use a flat-edged scraper. You may also use razor blades that have handles. With a combination of lifting and sliding movements, lift the bed gradually off the print. Be very cautious while performing this step and do not apply pressure or force or else you will damage the 3D print. If you keep repeating this process on your glass bed, it may lead to the uneven surface and damage the print.
How to remove PETG from Print bed
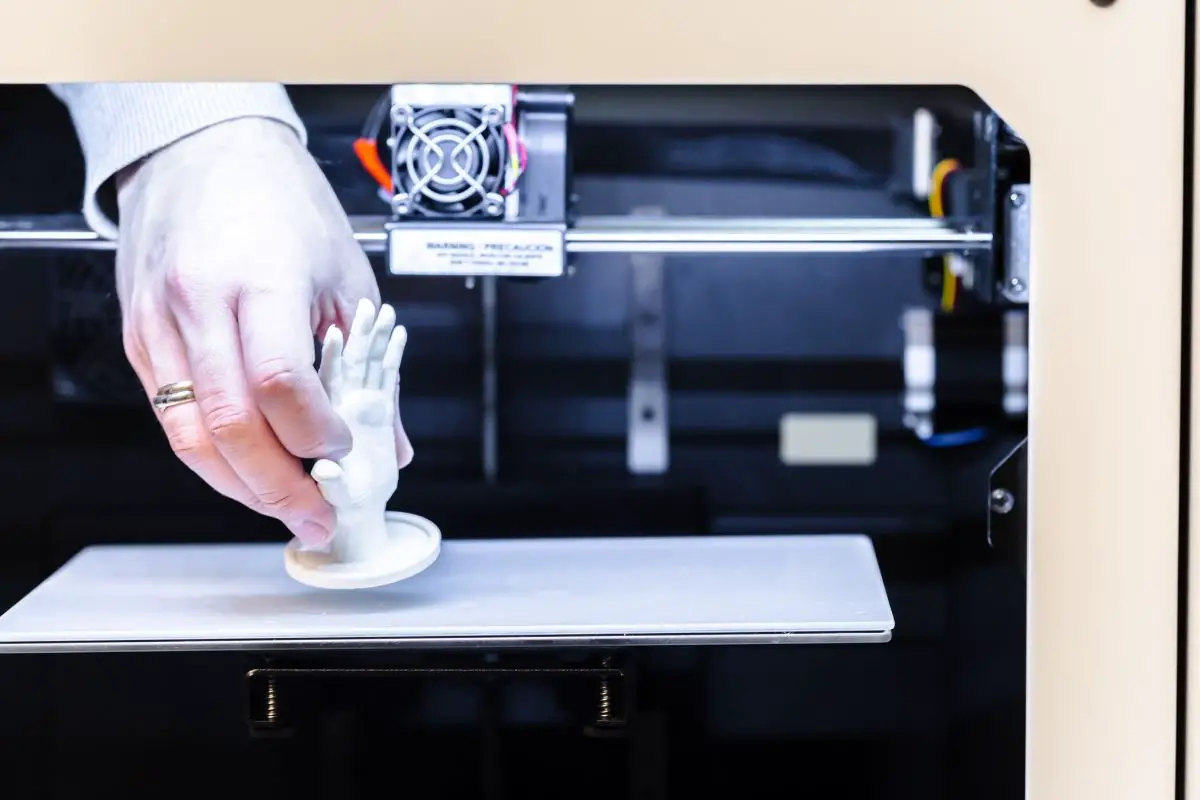
Polyethylene terephthalate glycol or PETG is an extremely impact-resistant, tough, and temperature resistant plastic. The PETG is mostly used in the FDM 3D printing. However, once you tune for a layer adhesion, PETG sticks too well and makes it extremely difficult to remove the print from the support structure.
While removing the print from the bed, you need to verify whether you are removing the remainder of PETG or PEI on the bed. In most cases, if PETG is used without applying any separating agent such as glue stick or window cleaner, then it leads to a stronger bond between the PETG and the bed. This results in difficulty in lifting PETG from the print bed.
How long to let 3D Print cool?
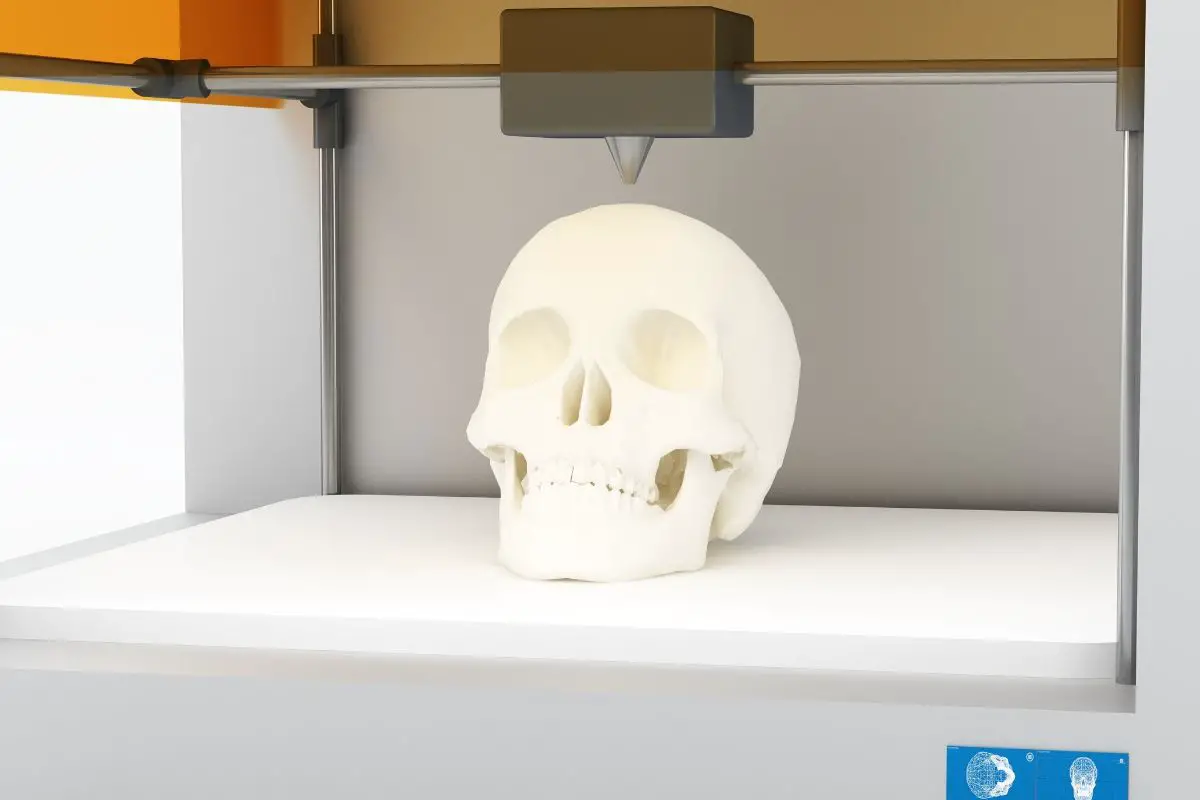
Once you complete a 3D print, you must let it cool down for a little more than 10 minutes so that you can separate the print from the bed. If you try to take it off before it sufficiently cools down or it is still in a softening temperature, the object may become deformed and lose the desirable finishing quality.
Once the workpiece becomes hard, you can separate the print from the base by following any method convenient to you or by using a spatula. If you do not have a spatula, simply insert it into your refrigerator or pour cold water into the base and wait till you hear the sound of a crack. This will indicate that the object has partially come off the base and can now be separated by hand.
Best 3D Print Removal Tools
There is no doubt that there has been an accelerated growth in the 3D printing industry in the last decade. Several varieties of 3D printing accessories are also important if you want the best quality of the final printed product. With the proper accessories, you can make your average printer into the most incredible machine. To remove the print from the bed, you will also require a certain set of tools that will make your job much easier.
The following is the list of top 3D printer removal tools that will help you lift off the print from the print bed –
Print Removal Blade or Knife
Sometimes, you will find that the prints will not come off easily from the bed. No matter how much you push or pull, you will not be able to take it off. This is when a sharp print removal knife comes handy. Your 3D printing toolbox must have a paint knife or a putty knife with sharp ends if you do not have a 3D print removal knife. You will find this knife available in the market and they cost between $5 to $20. If you do not want to spend any money, simply get a blade and print a handle for it.
Hex Keys and Screwdrivers
If you have a 3D printer, you will know the use of hex keys and screwdrivers and how important they are as tools. You will need them to tighten bolts and screws when they become loose.
Masking Tape
This tool is used widely and it helps to adhere print better to the bed and it is extremely recommended that you keep masking tape in your toolbox. Place strips of the tap on the platform and print on it. it is better if you use wide tape as it covers more area and creates a smooth surface. You can easily remove the print from the bed by taking the masking tape off and also protect the print from any scratches. The width of the masking tape should be at least 2 inches or 5 cm.
Adhesive or PVA Glue Stick
A good adhesion is important if you are 3D printing. You can use adhesive sprays or glue sticks that serve the same purpose. You can increase the plate adhesion by covering the print bed with a glue stick. This is washable. You can directly apply the glue on the build plate and remove it effortlessly with water.
Wrenches and Pliers
These are necessary tools and have multi-dimensional uses. They can be used to tighten the nuts, clean the nozzles, or remove the print bed. Pliers can also be used as a filament or wire cutter. They help you remove support or string structures.
Sandpaper
Keep a bunch of sandpapers of different grits in your toolbox. These are used to smoothen the rough surfaces and edges and betters the appearance. Use different grits, from coarse to fine (120 – 1200 grits or even more). If the sandpaper is of good quality, it will not wear off easily and will last longer.
Tweezers
Your 3D printing toolbox must also have tweezers of different sizes and shapes. They are extremely useful in plucking filament from the extruder nozzle. They provide a very cheap and good solution to very high precision and fine adjustments in the 3D printer. They keep your hand from burning and are normally used in post-processing parts of your printing process.
Spatula
This 3D print removal tool can solve every problem that you face while removing the print from the bed. Put the spatula underneath your print, and gently lift the print. You will get spatulas of different sizes depending on the size of the print.
Finishing Up
Whether you are trying to remove supports or remove a part from a 3D Print bed, Maker Industry is here to help guide you in every way. Please feel free to leave us a message with any questions or topics you would like us to cover. We hope this has helped you and look forward to seeing you again.
About The Author
3D Printer Specialist and Founder
Joshua Garcia
“I’ve always been interested in making things ever since I received my first Lego set as a kid. Fast forward a few years later and some long summer days of mowing neighbors lawns and I was finally able to purchase my first 3D Printer. The passion grew quickly and now about 10 years later I have now been able to turn my passion into a career and I love every minute of it.”
